Getting Started
Congratulations on getting a new Looper!
In this section, we will tell you everything you need to start looping in a hurry.
Documentation Index:
- Getting Started
- Meet your Looper
- Overview Videos
- Looper Ports
- Loops Overview
- Looper Overview
- How to create Loops on a USB stick
- Creating Custom Processes
- Frequently Asked Questions (FAQ)
Quick Start:
- Plug the earbuds in looper
- Load the processes on the USB stick (skip this step if you opted for our Concierge Loop Service)
- Plug in the power adapter. Plug the micro-usb connector of the adapter into the looper (Note that one side of the connector is flat.)
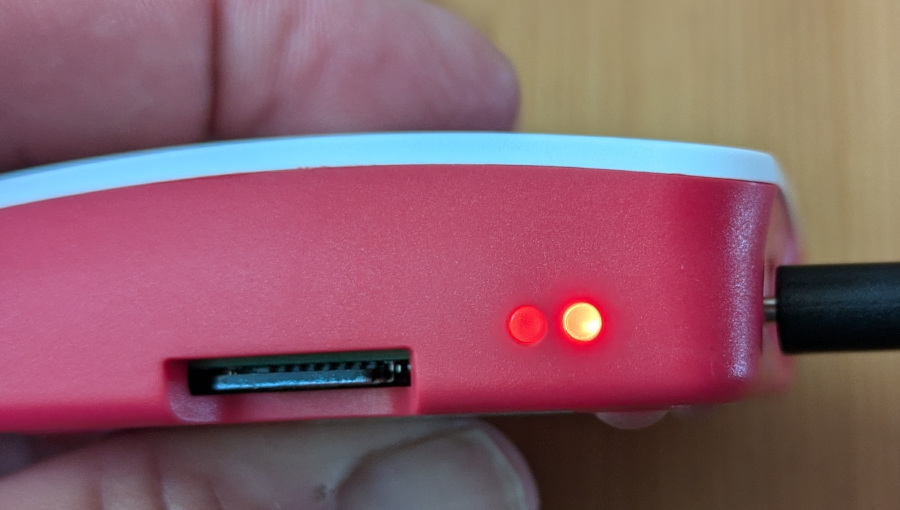
- Turn power ON! Plug power adapter, flip the switch and the RED LED on the side of the looper will light up.
- Wait 30 secs. Looper takes 30 secs to boot up.
- Listen on the earbuds to your looper starting up and loading your loops (one every 5 seconds)
- Remove the USB Stick and store it safely away. You only need it to change your playlists.
Meet your Looper
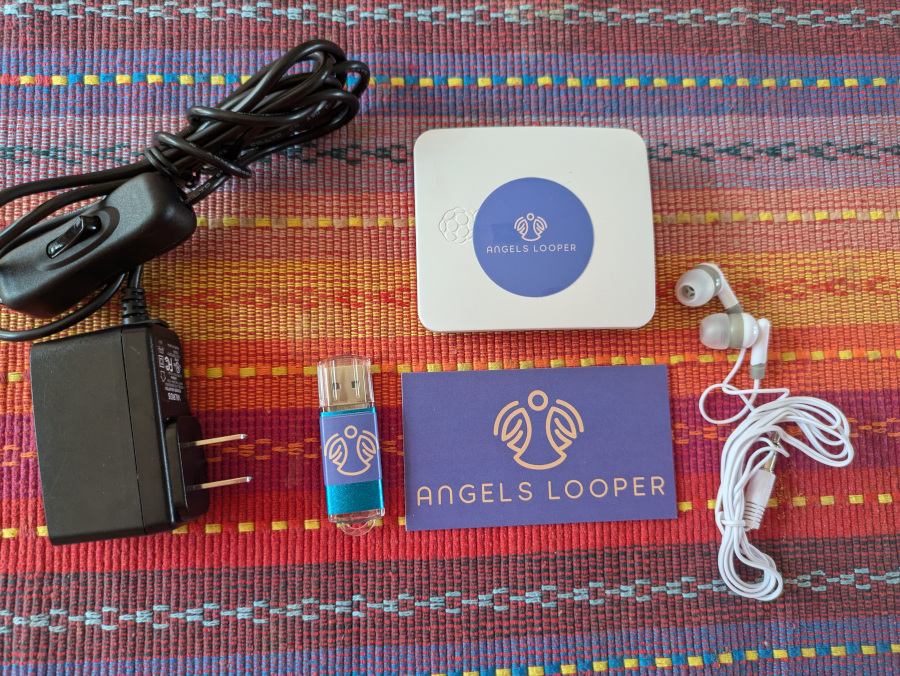
Looper is a small computer measuring just under 2.5" x 3".
The home kit contains a Looper device, a Power Adapter, Earbuds, a USB Stick and an accessory pouch.
Optionally (not shown above) you can order a car power adapter and/or a power bank (battery).
Overview Videos:
The following short videos will give you an overview of Looper
Looper introduction
Click on the video below to start/stop and click the icon to view in full screen
First time starting Looper
Click on the video below to start/stop and click the icon to view in full screen
Uploading your Loops into Looper
Click on the video below to start/stop and click the icon to view in full screen
Looper Accessories
Click on the video below to start/stop and click the icon to view in full screen
Looper Ports:
HDMI port: (unused)
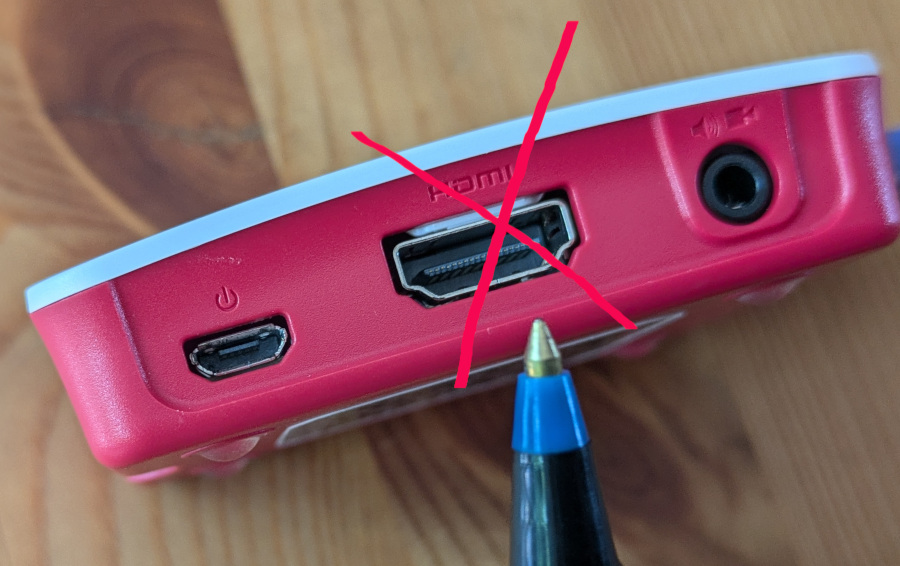 We do not use the HDMI port found on the looper. Just ignore it.
MicroSD card: (Don't touch it)
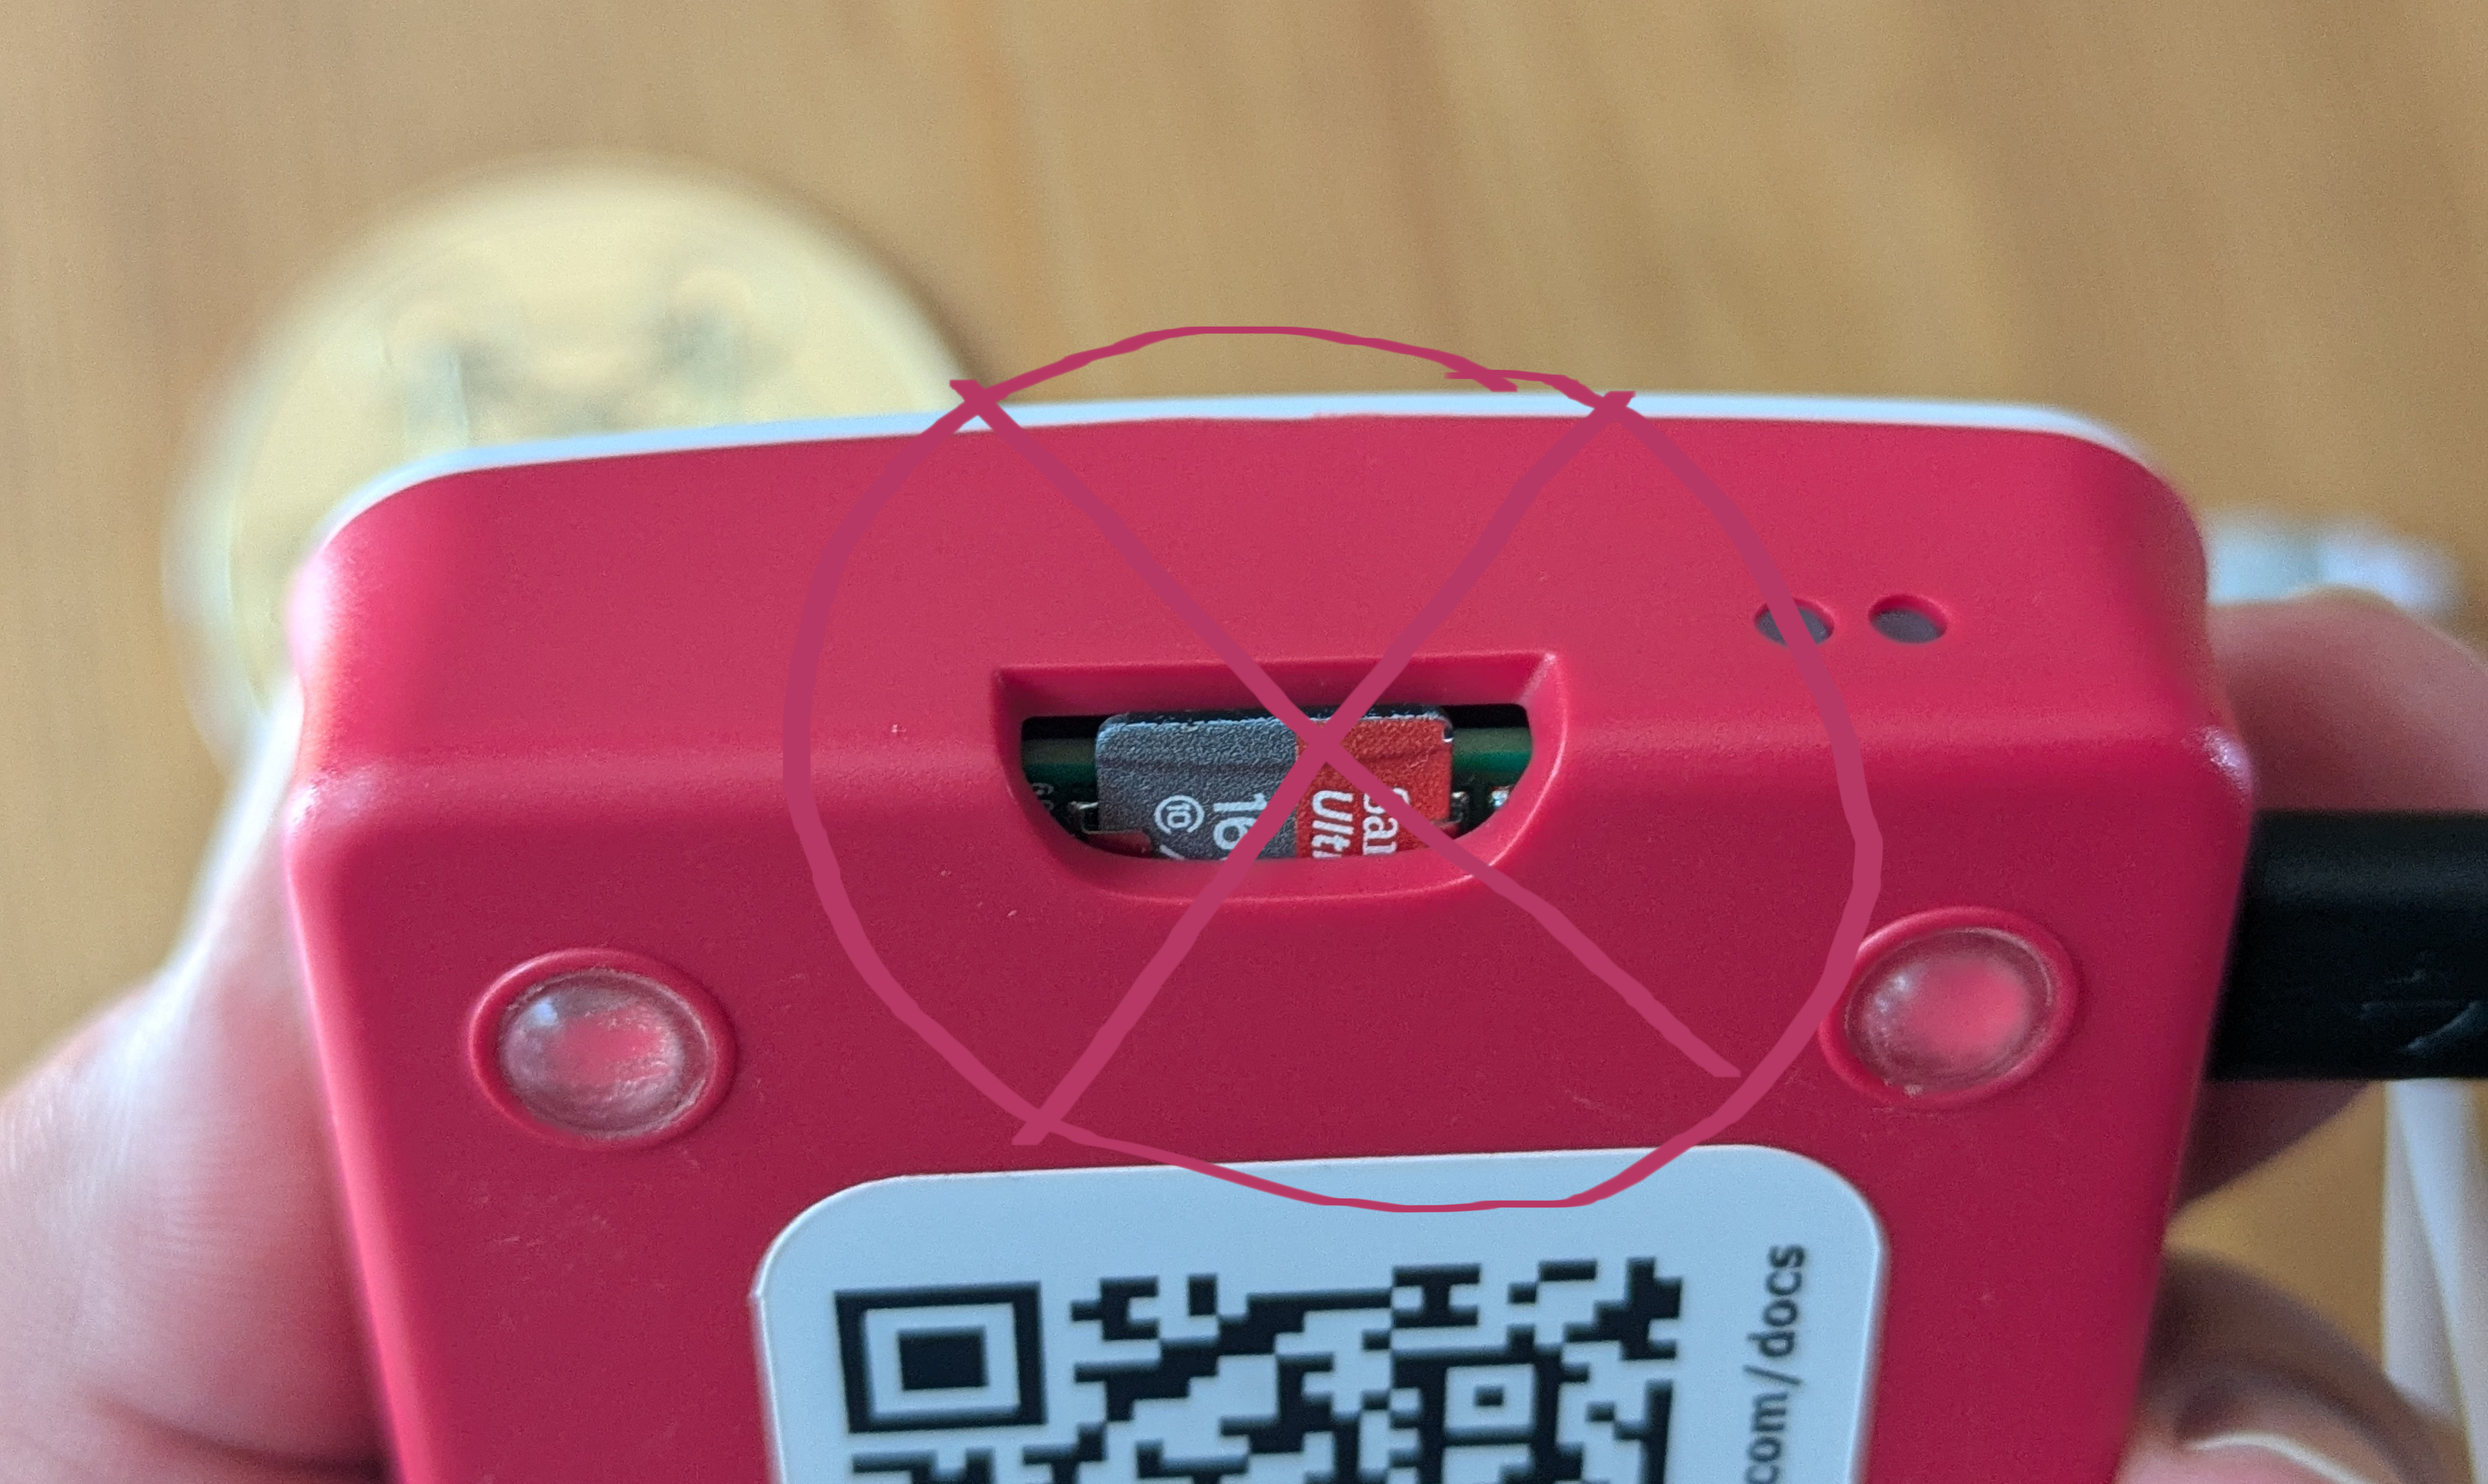 Looper has a microSD card with its software on it.
You should not pull or remove this card.
Headphones port
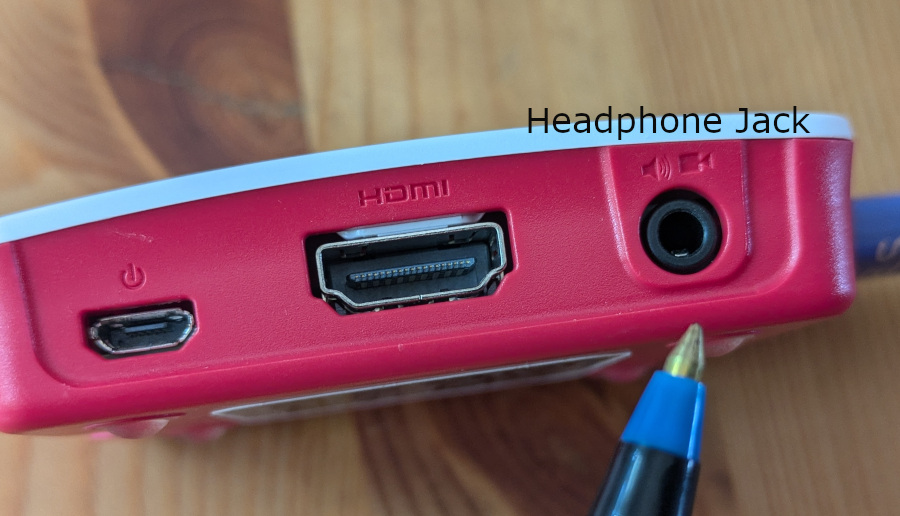 This is where you connect the earbuds or if you prever, an exteral powered speaker.
Micro-USB power IN port
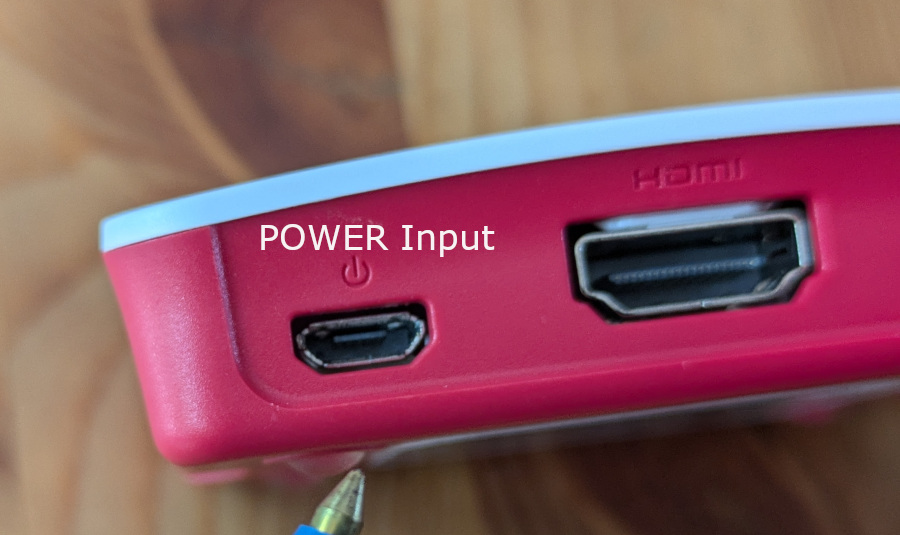 This is the micro-USB power input port.
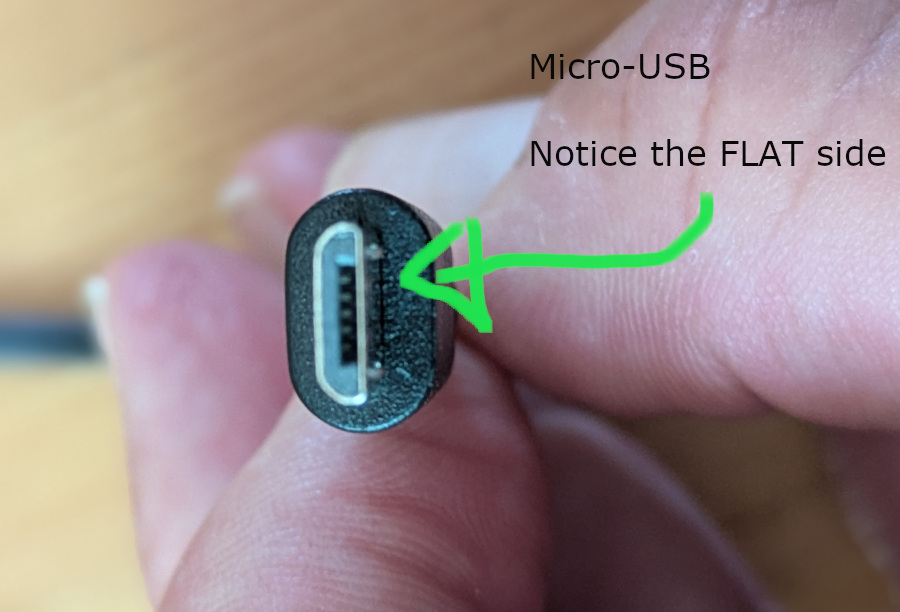 The second photo shows the matching male plug on the power adapter.
Note: One side of the connector is flat. You may need glasses to see this... (I know I do!)
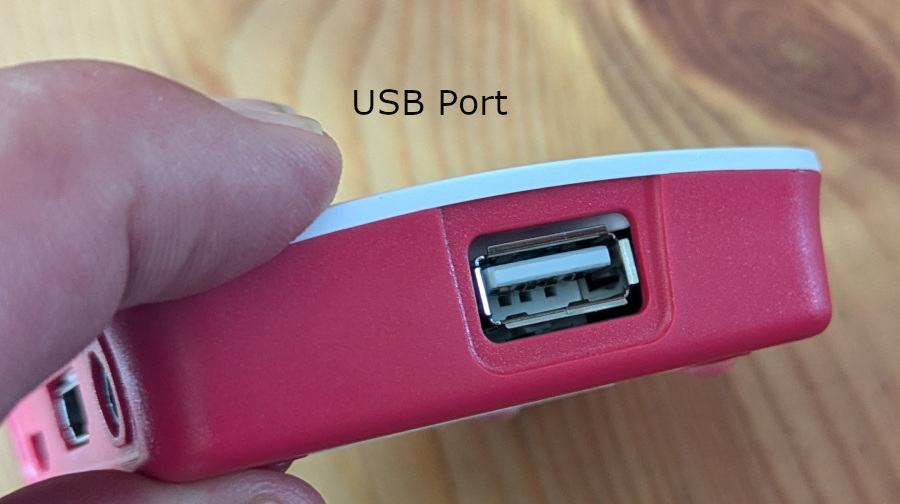
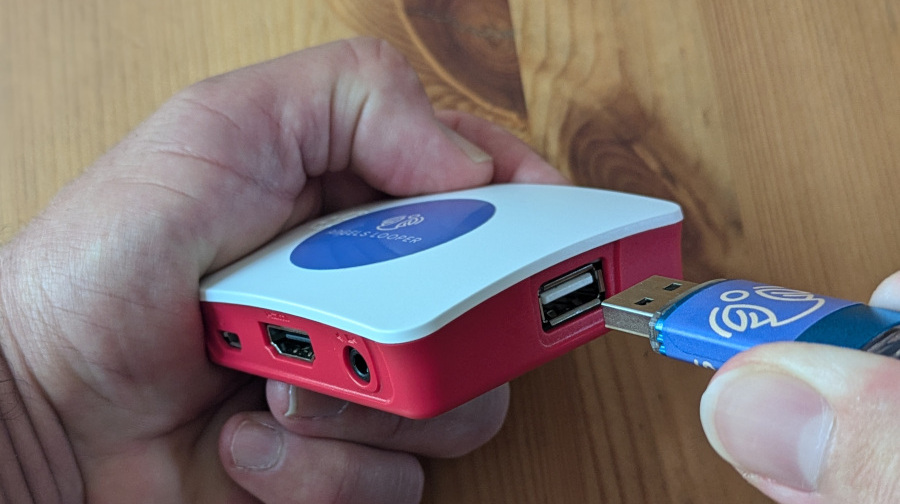
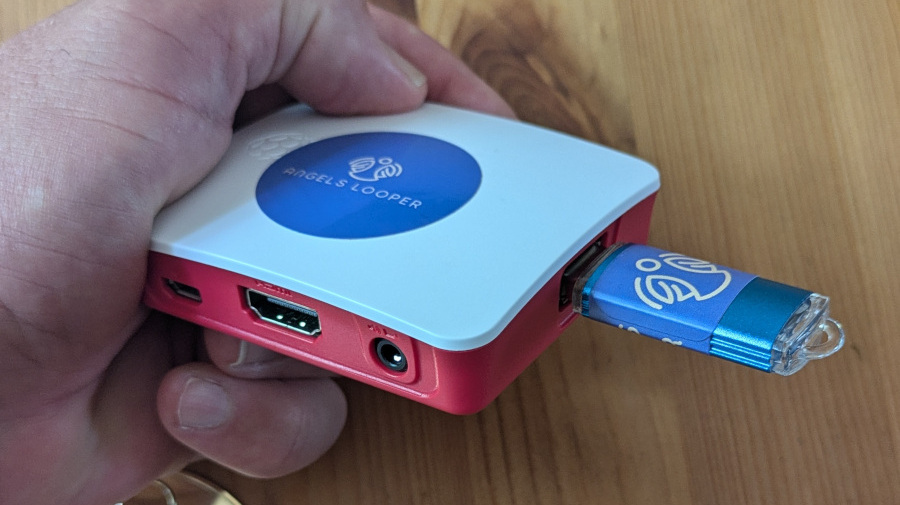
USB port / USB Stick
This shows the Looper's USB port, the USB stick and how to plug it in.
Note: As you probably know, the large USB stick fits only in one position... if you can't plug it in easyly, flip your USB stick upside down and try again!
Power Swtich / Red LED (Looper ON!)
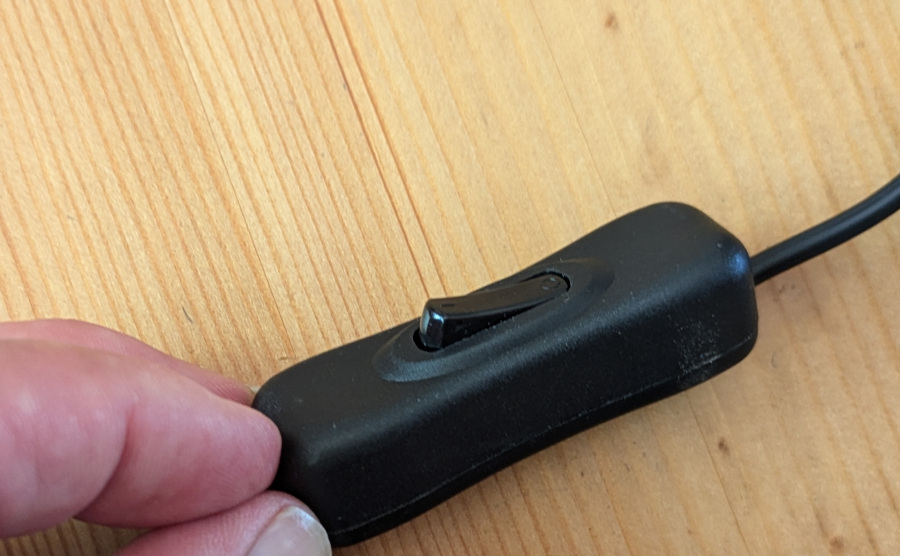
 This is the switch on the power adapter. Note that some models may not have a power switch, in which case, you can just unplug the adapter from the wall outlet to turn the device off.
The second photo illustrates how there is a RED LED on the side of the looper that shows you when the power is ON.
QR code
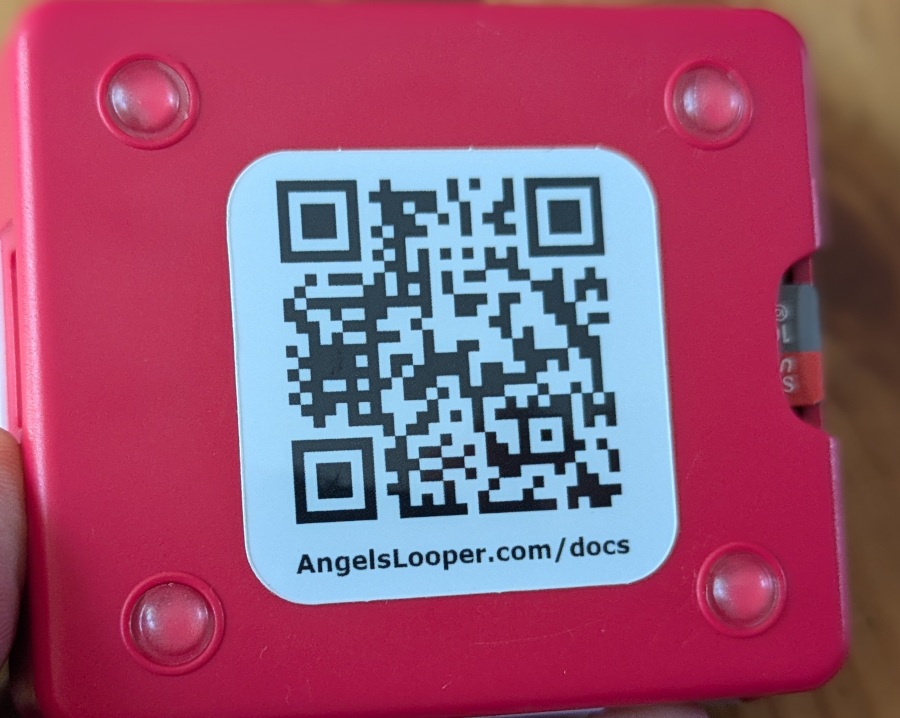 There is a QR code at the bottom of your looper device that you can scan with your phone/tablet camera.
It will show you the URL:
AngelsLooper.com/docs
which will bring you back to this page
Disclaimer: Neither Looper products nor any of the information on this website are owned or sponsored by CMA, the Global SELF Foundation, John Douglas or any organization affiliated with these entities or with John Douglas.
